
As some of you may know, as well as owning my spaniels and being the human behind ‘The Cotswold Spaniels’, I am a photographer – specialising in Canine photography. Smart phone cameras are now such good quality as well as many DSLR and Bridge cameras becoming more affordable there is a huge increase in pet owners taking any opportunity to capture everyday memories with their pets, [I can’t be the only one who’s phone storage is full because of too many dog photos!].

Being a photographer I will always be a firm believer that you should book a shoot with someone who specialises in photography at least once, capturing images you will always treasure. However I still think you should always be snapping your dogs everyday antics. I’ve got a few tips to share on how to improve your dog photography photos, enabling you to capture their personalities and characters even more. Please note all of these tips are my own opinion and I am not stating that they must be done in canine photography, everyone is welcome to their own style.

1) GET DOWN LOW
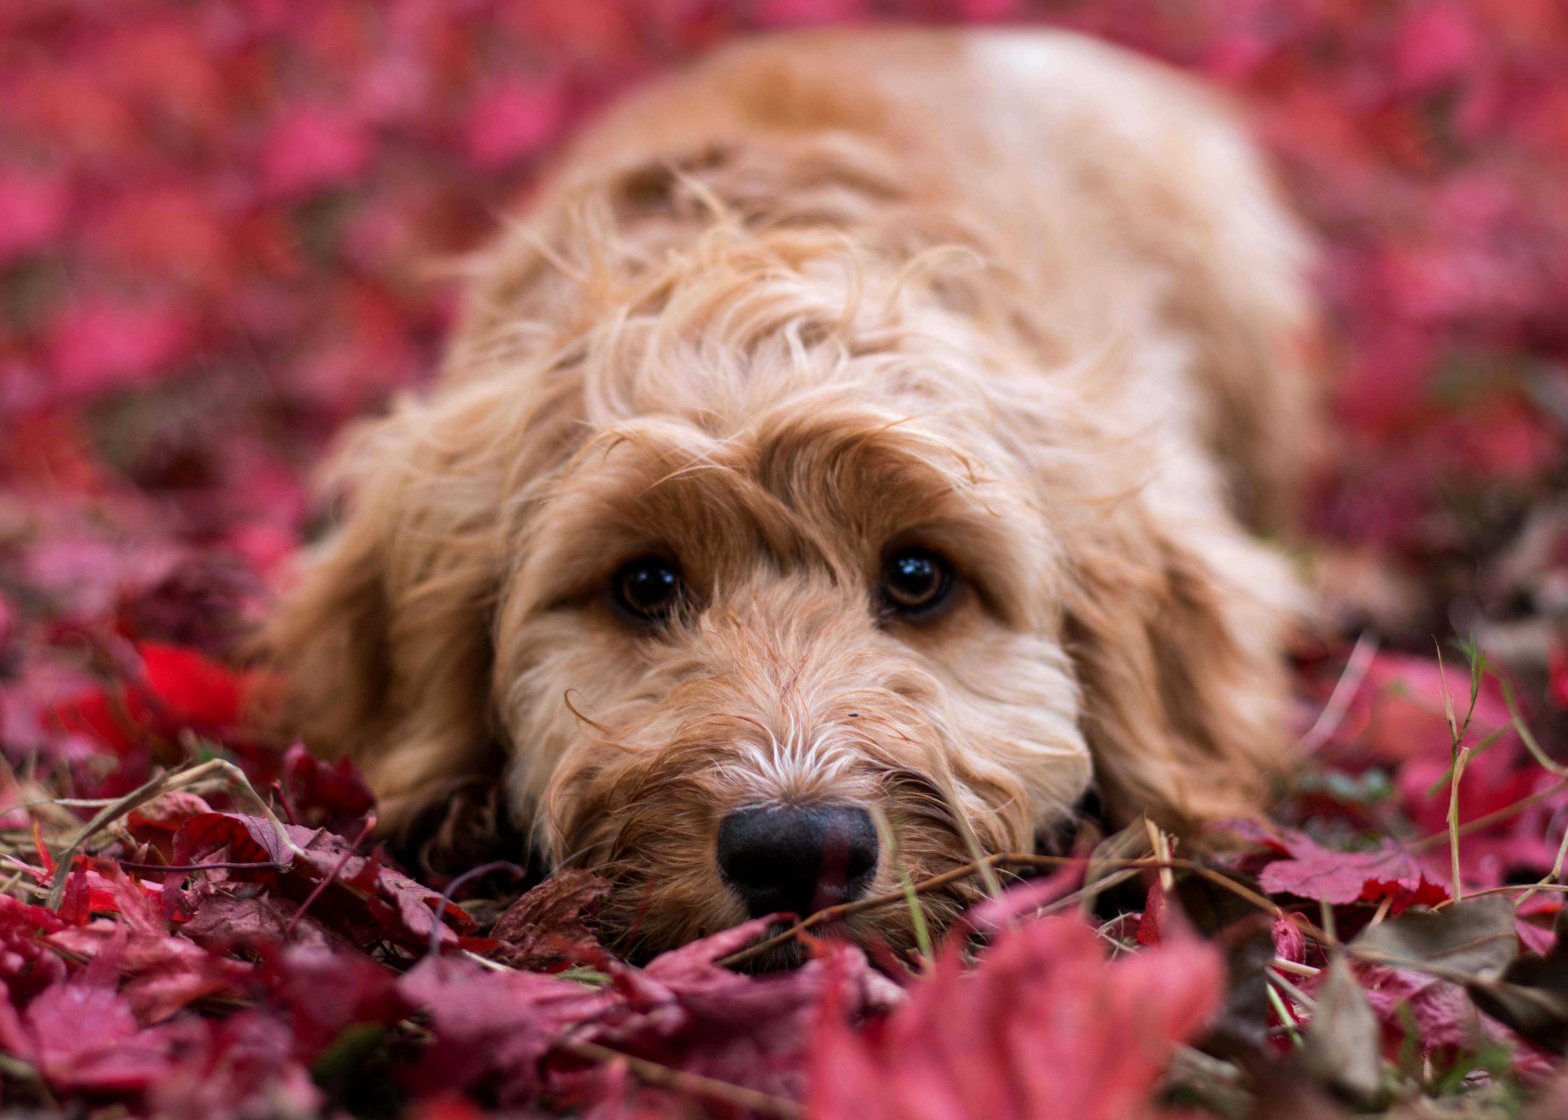
It is so important to get down low with you and your camera at the same level as the dog. This will most likely involve getting wet and muddy on the floor [But us dog owners are used to getting muddy on walks from those pesky dogs!] so make sure you’re wearing appropriate clothing that you’re not worried about getting mucky. The dogs eyes will be level with your camera and you’ll be drawn into the way a dog sees the world. You will probably only have to sit or crouch on the ground to get normal shots, however why not experiment with different angles. For the photo of Wilma in the red leaves below I was lying flat on my stomach which looked a bit extreme to passers by but I love low down photos of my dogs, plus they look super adorable.


2) LIGHTING
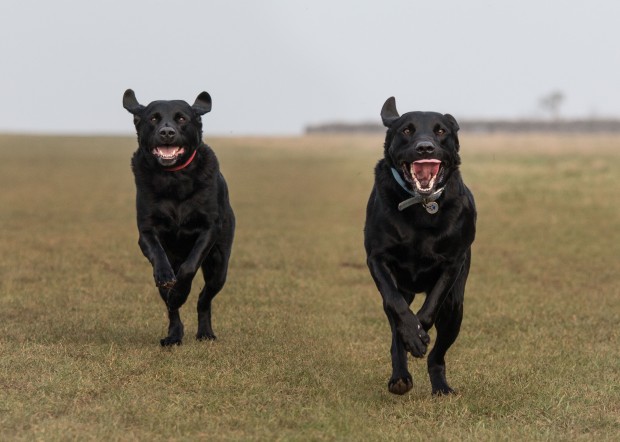
Lighting is always a challenge, especially in these winter months with the late mornings and early evenings, but light is the one thing that’s essential in any photo. I much prefer using natural lighting, always opting to shoot outdoors. I do have studio lights when shooting indoors for products, but if possible I won’t use my lights and will wait for the perfect sunlight to shine in. When you’re outside with your dogs try and find shaded spots for your photos. Although most people will look outside on a sunny day, see the blue sky with not a cloud in site and think its the perfect opportunity for photos. Don’t get me wrong this type of weather is totally gorgeous and makes lovely photos, but it can be a nightmare in parts of dog photography. It will highlight big areas of the dog whilst others will be filled in shadows, and in black dogs in particular making it a challenge to see their facial features. For me, cloudy days are perfect as it means the weather doesn’t limit where the dogs and I explore.


3) FOCUS ON THE EYES
This is my most important tip, to always have the focus point on your dog’s eyes. We communicate with our eyes and they’re what we are drawn to first in an image. It can be a challenge with wriggling dogs to get the focus point right on the eyes, but if you keep practising your ‘wait’ command with your dog I’m sure you’ll have it in no time! Some people focus on the nose with everything else in the photo purposely blurred for effect. I think this is creative however you’re still automatically drawn towards the dog’s eyes. You may have to search the settings for a bit if you’re unsure, but cameras enable you to move the focal point or change the size of it so you can place it over your dogs eyes to get the perfect photo.


4) HAVE FUN
Make sure both you and your dog are having fun, you wouldn’t be taking the photos if you didn’t enjoy it so keep praising your dog. It can be hard to stay calm and positive with them when they keep wriggling and seem to have suddenly developed selective hearing. Dogs are smart, they’ll remember bad experiences of you getting cross and associate it with whenever you bring the camera out. Instead fill your pockets with toys and treats, praise them after each pose and play with them, making it one big game. Get the whole family involved too and capture some beautiful memories.


4) CAMERA SETTINGS
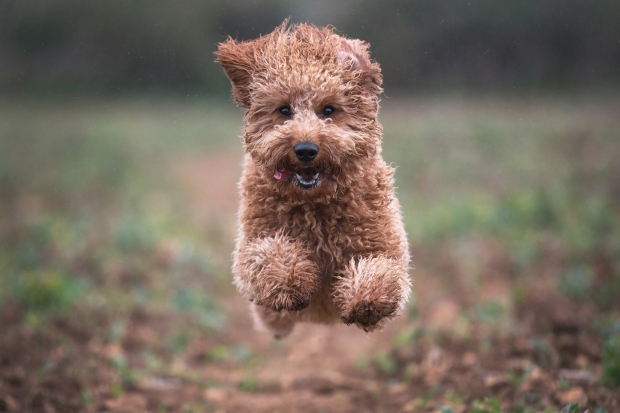
I could spend hours attempting to explain the technical side of the settings [I can recommend many great courses if you’re looking to get into it properly]. It starts off simple with just 3 things to watch – ISO, Aperture and Shutter Speed, but then balancing them all gets a bit complicated. For anyone starting to dive into the world of photography I suggest trying out different settings on your camera. Instead of always having it on Automatic or ‘P’ try out Aperture Priority or Shutter speed priority. These may take a while to get used to but thats a better excuse to get out and take more photos of your dogs! Aperture would mainly be used for portrait shots and then shutter speed for those action shots of your running dogs. Maybe once you’ve mastered these move onto Manual mode where everything is in your control!
I hope I have helped a little and not confused you too much, hopefully these tips can help you take even better photos of your dogs! Feel free to send me a message or comment on any of our sites if you’d like some more help with taking photos. I’ll do my best to answer them all!
Megan, Woody & Wilma
I’m a photographer based in The Cotswolds and South West, you can view my website here & get in contact if you’re interested in booking a shoot.

Great tips Megan 🙂 I have a new camera so learning at the moment. Just need to get a bouncing boxer to sit still now ! xx
LikeLike
Perfect chance to get out and practise whilst on a dog walk! Enjoy xx
LikeLike
Thanks for the great tips Megan! I always find it quite hard with Rufus around the house as he’s a black dog. But I’m going to try and focus more on the eyes and getting down to his level. He’s only little so I hope they’ll make better photos! Thanks for sharing!
Becky & Rufus
Blogger & The Geek
LikeLike
Thanks for sharing your tips Megan! I find it difficult at times to take pictures of Rufus when it’s dark because he’s a black dog. But I’ll be trying to focus on his eyes and getting down to his level. He’s such a cutie I would love to be able to capture that half as well as you do with Woody and Wilma!
Becky & Rufus
Blogger & The Geek
LikeLike
I’m glad I could help, I look forward to seeing your photos xx
LikeLike
Thanks! My photos of Dixie dog are usually taken when she’s asleep, or has just run out of the shot! Looking forward to practising with her a bit more.
LikeLike
Good luck! I’m sure they’ll be great
LikeLike
I hope one day I can get to grips with an action shot! For now we will just deal with a creative blur
LikeLike
Creative photos are always fun hehe! Action shots are so much fun, I’m sure you’ll get it in no time! Feel free to message me any time with any questions xx
LikeLike
This is amazing!! Thank you for posting such a clear guide to help all of us (with full storage ;)! ) ❤ x
LikeLike
Great blog post and really helpful tips! I’m still very much a learner when it comes to photography. Next on my list are action shots! Eeeek! So tricky! xxx
LikeLiked by 1 person
Glad I could help! You’ll have perfected the action shots with your sausages in no time! 🐾
LikeLike